
Gazebo
My mother loved to garden. My father was an Architect. I was a poor college student home for the summer. This was the perfect combo for my mother to get the gazebo she wanted.
After much deliberation and wandering around the backyard, a location was finally selected. What the gazebo was going to look like, or how big it was going to be, was still completely up in the air.
My father being an architect, I asked if he would draw me some plans. He sat down at the desk where I did schoolwork and pulled out a pad of paper. He drew two parallel vertical lines, then two angled lines to make a roof over them, then some benches hanging off the inside of the vertical lines. Then, next to it, he drew an octagon. He handed it back and said, “here you go.”
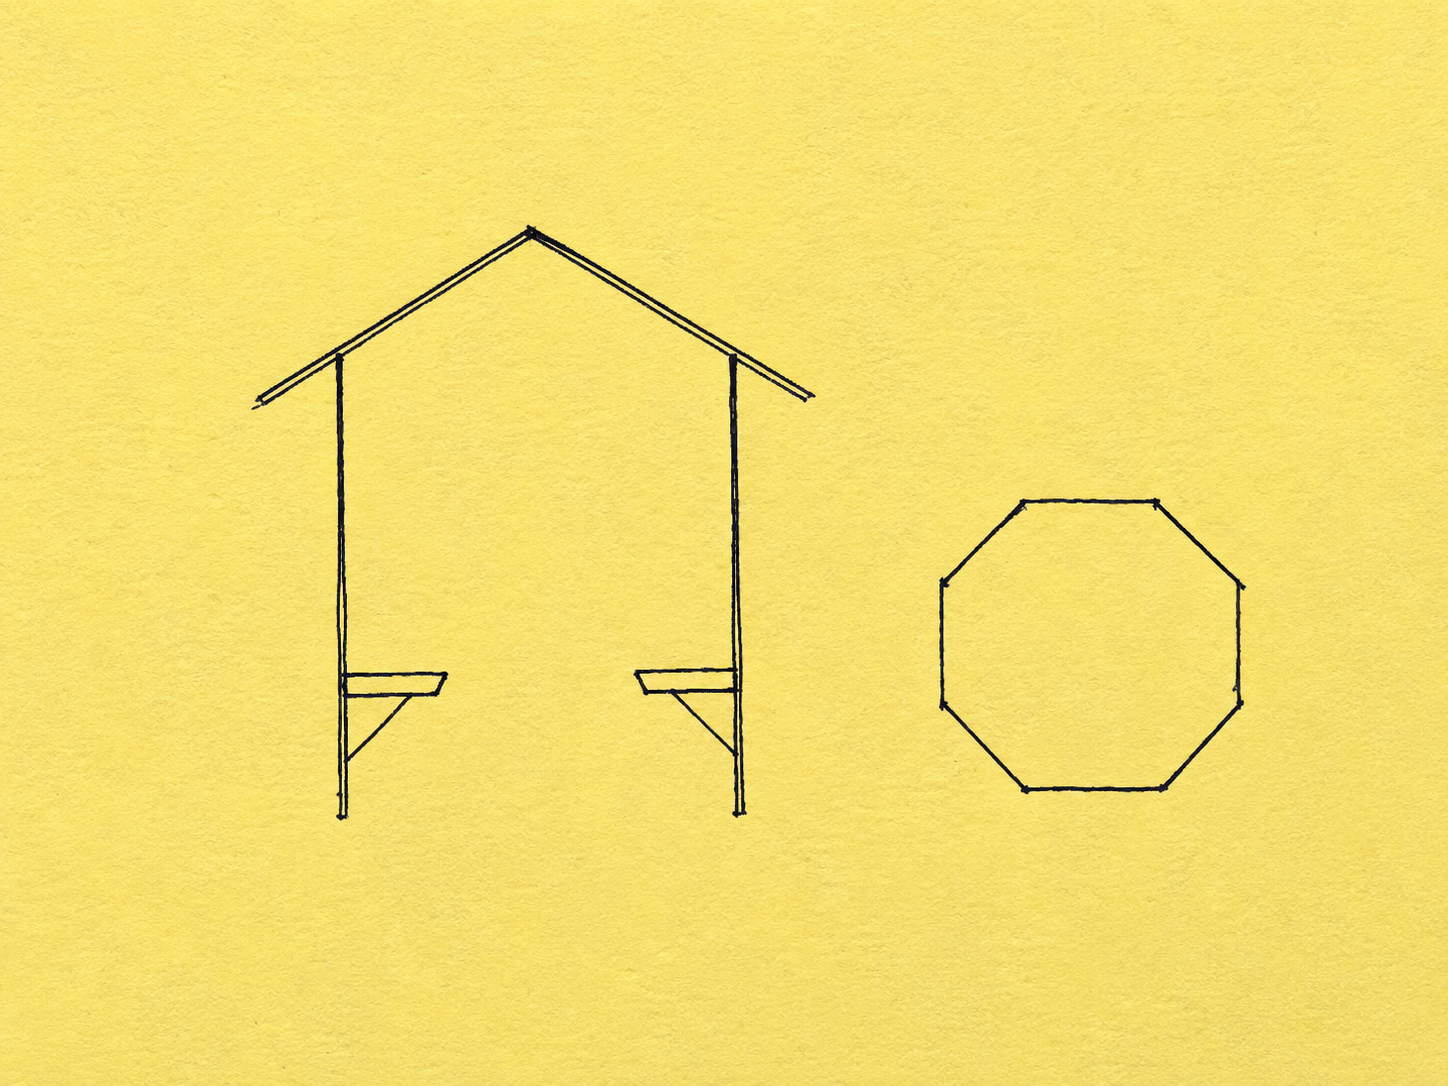
My father would happily answer questions in detail if it was a good question. That apparently was not a good question.
I set out to design this monstrosity I had gotten myself into. My mother was not the easiest person to convey ideas and concepts to, and the roof design was particularly important to her. So I did what I had seen my dad do with potential clients: I started building models. Really simple models made out of chipboard cut with an X-Acto knife and put together with CA model airplane glue (super glue).
I do not remember how many versions I went through before I finally had an acceptable design. I remember one roof idea I had that I still wish I had been able to do.
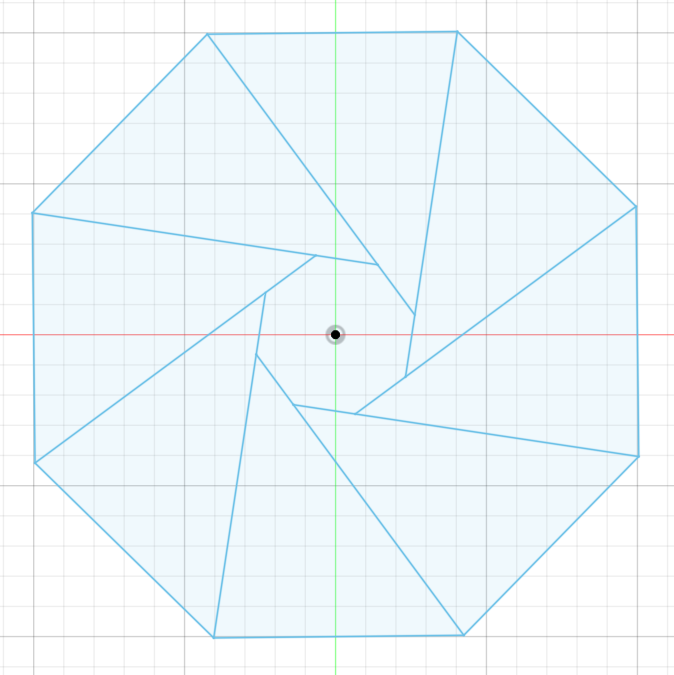
Though I was pretty happy with what I ended up with.

I had access to AutoCAD and began doing some drafting on my own. I ended up drawing the full construction in detail to figure out what material I would need. I then drove around to Home Depot, 84 Lumber, and a few other local stores to get price information.
Keep in mind this is 2002, but this was what my expected material cost looked like:
| Material | Quantity | Price | Total |
|---|---|---|---|
| Strait Joist Hanger | 10 | $0.87 | $8.70 |
| Replacement Keyless Chuck | 1 | $26.93 | $26.93 |
| Rebar 1/2x18 | 8 | $0.42 | $3.36 |
| Framing Anchor Plate | 4 | $1.07 | $4.28 |
| Concrete | 3 | $3.96 | $11.88 |
| Carpenter Pencil | 3 | $0.44 | $1.32 |
| Adjustable Saw Horses | 2 | $19.96 | $39.92 |
| 6x6x12 treated | 8 | $21.97 | $175.76 |
| 5/4x6x12 Dry Treated | 14 | $8.99 | $125.86 |
| 4’x8’ 3/8” plywood | 3 | $8.25 | $24.75 |
| 4x4x6 Treated | 1 | $3.97 | $3.97 |
| 2x8x10 Dry Treated | 16 | $9.95 | $159.20 |
| 2x6x8 Dry Treated | 8 | $7.39 | $59.12 |
| 2x4x12 Dry Treated | 2 | $7.29 | $14.58 |
| 2x4x10 Dry Treated | 16 | $5.69 | $91.04 |
| 2x4x10 | 8 | $2.66 | $21.28 |
| 2 1/2” Primeguard Screws | 2 | $5.58 | $11.16 |
| 12” Corner Rd Routr Bit | 1 | $8.69 | $8.69 |
| 12” 60t Chop Saw Blade | 1 | $39.97 | $39.97 |
| 21” Sanding Belts 40 Grit | 4 | $4.89 | $19.56 |
| Wood Jig Saw Blades | 3 | $2.77 | $8.31 |
| Steel Square | 1 | $3.39 | $3.39 |
| Stair Guage | 1 | $2.97 | $2.97 |
| Subtotal | - | - | $866.00 |
| Sales Tax | - | - | $82.27 |
| Grand Total | - | - | $948.27 |
This was where things got real. I began negotiating for what I was going to get paid. My mother wanted to pay me $1000, I wanted $5000, and my dad kept his mouth shut.
We agreed on $5000 minus any expenses that went over my estimated material cost, which we rounded to $1000.
I finished my CAD drawing and hand-wrote a cut list of every board I would need. I bought the lumber and headed over to the barn (the one in the background in the header photo), where the table saw and chop saw were located. I started measuring and cutting. Every board on my cut list got numbered. Every angled cut was done from the angle the CAD drawing showed it should be: floor joists, floor boards, roof rafters, roof pieces, and posts.
On the benches, I wisely listened to my dad when he suggested I wait to build those until the structure was up, since things might be a bit off. I printed out my plan (I still have the CAD file) and hauled all the lumber over to start building.
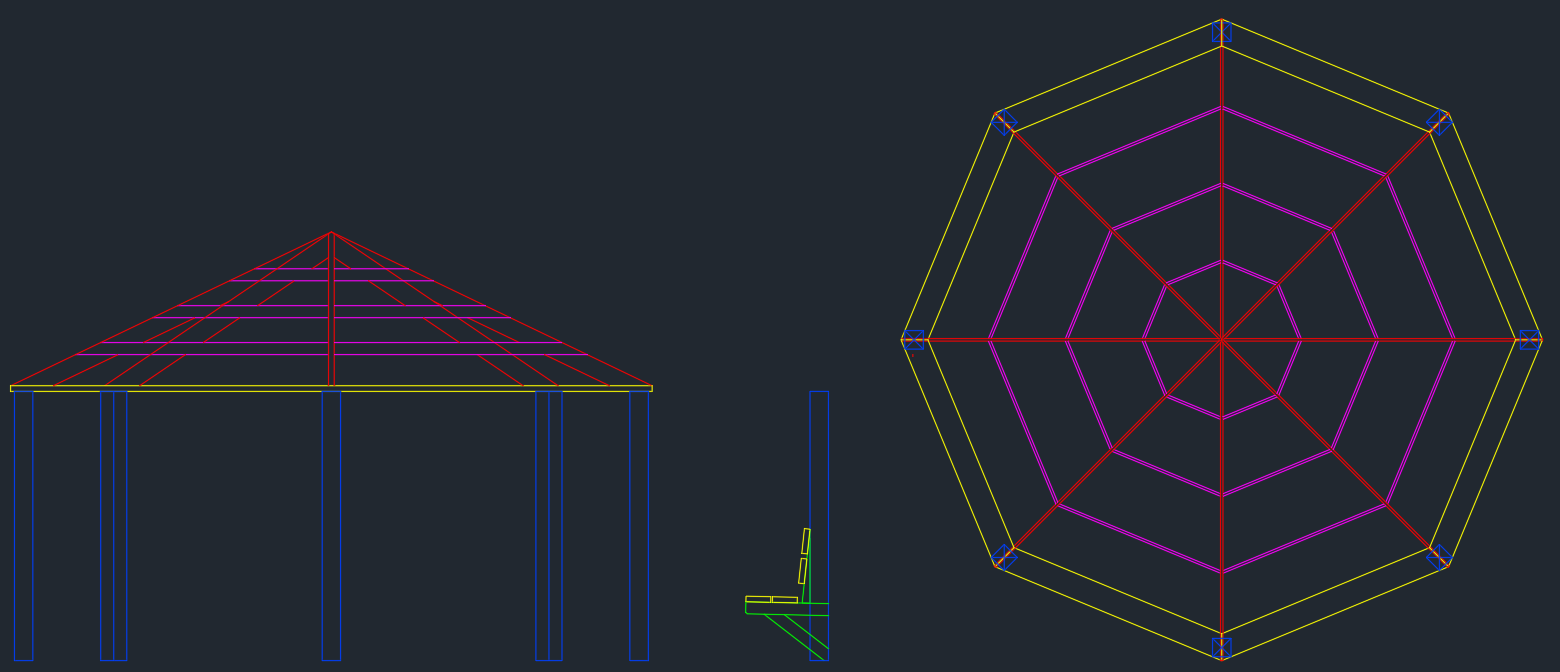
To keep things organized, I used the plywood in my material list to create a full-sized pattern for the base. I used that template to dig holes for the posts and then poured concrete footings for each one.
To make things easier, I thought I would combine the logic of the metric system with the US system. From the center point to the outside of each post was an even 100 inches. In hindsight, this made absolutely no sense.
Construction began, and getting eight 8” x 8” posts that were 10 feet tall connected together and plumbed, even with all the connecting pieces pre-cut, was a challenge for one person.
Things progressed smoothly until I started putting in the floor. I started on the outside and moved inward using standard deck boards I had pre-cut. Somehow, out of every 8 boards that made an increasingly smaller octagon, at least one was an eighth of an inch too long. Every wrong board was a long walk over to the chop saw, trim off 1/8”, then walk back and screw it down.
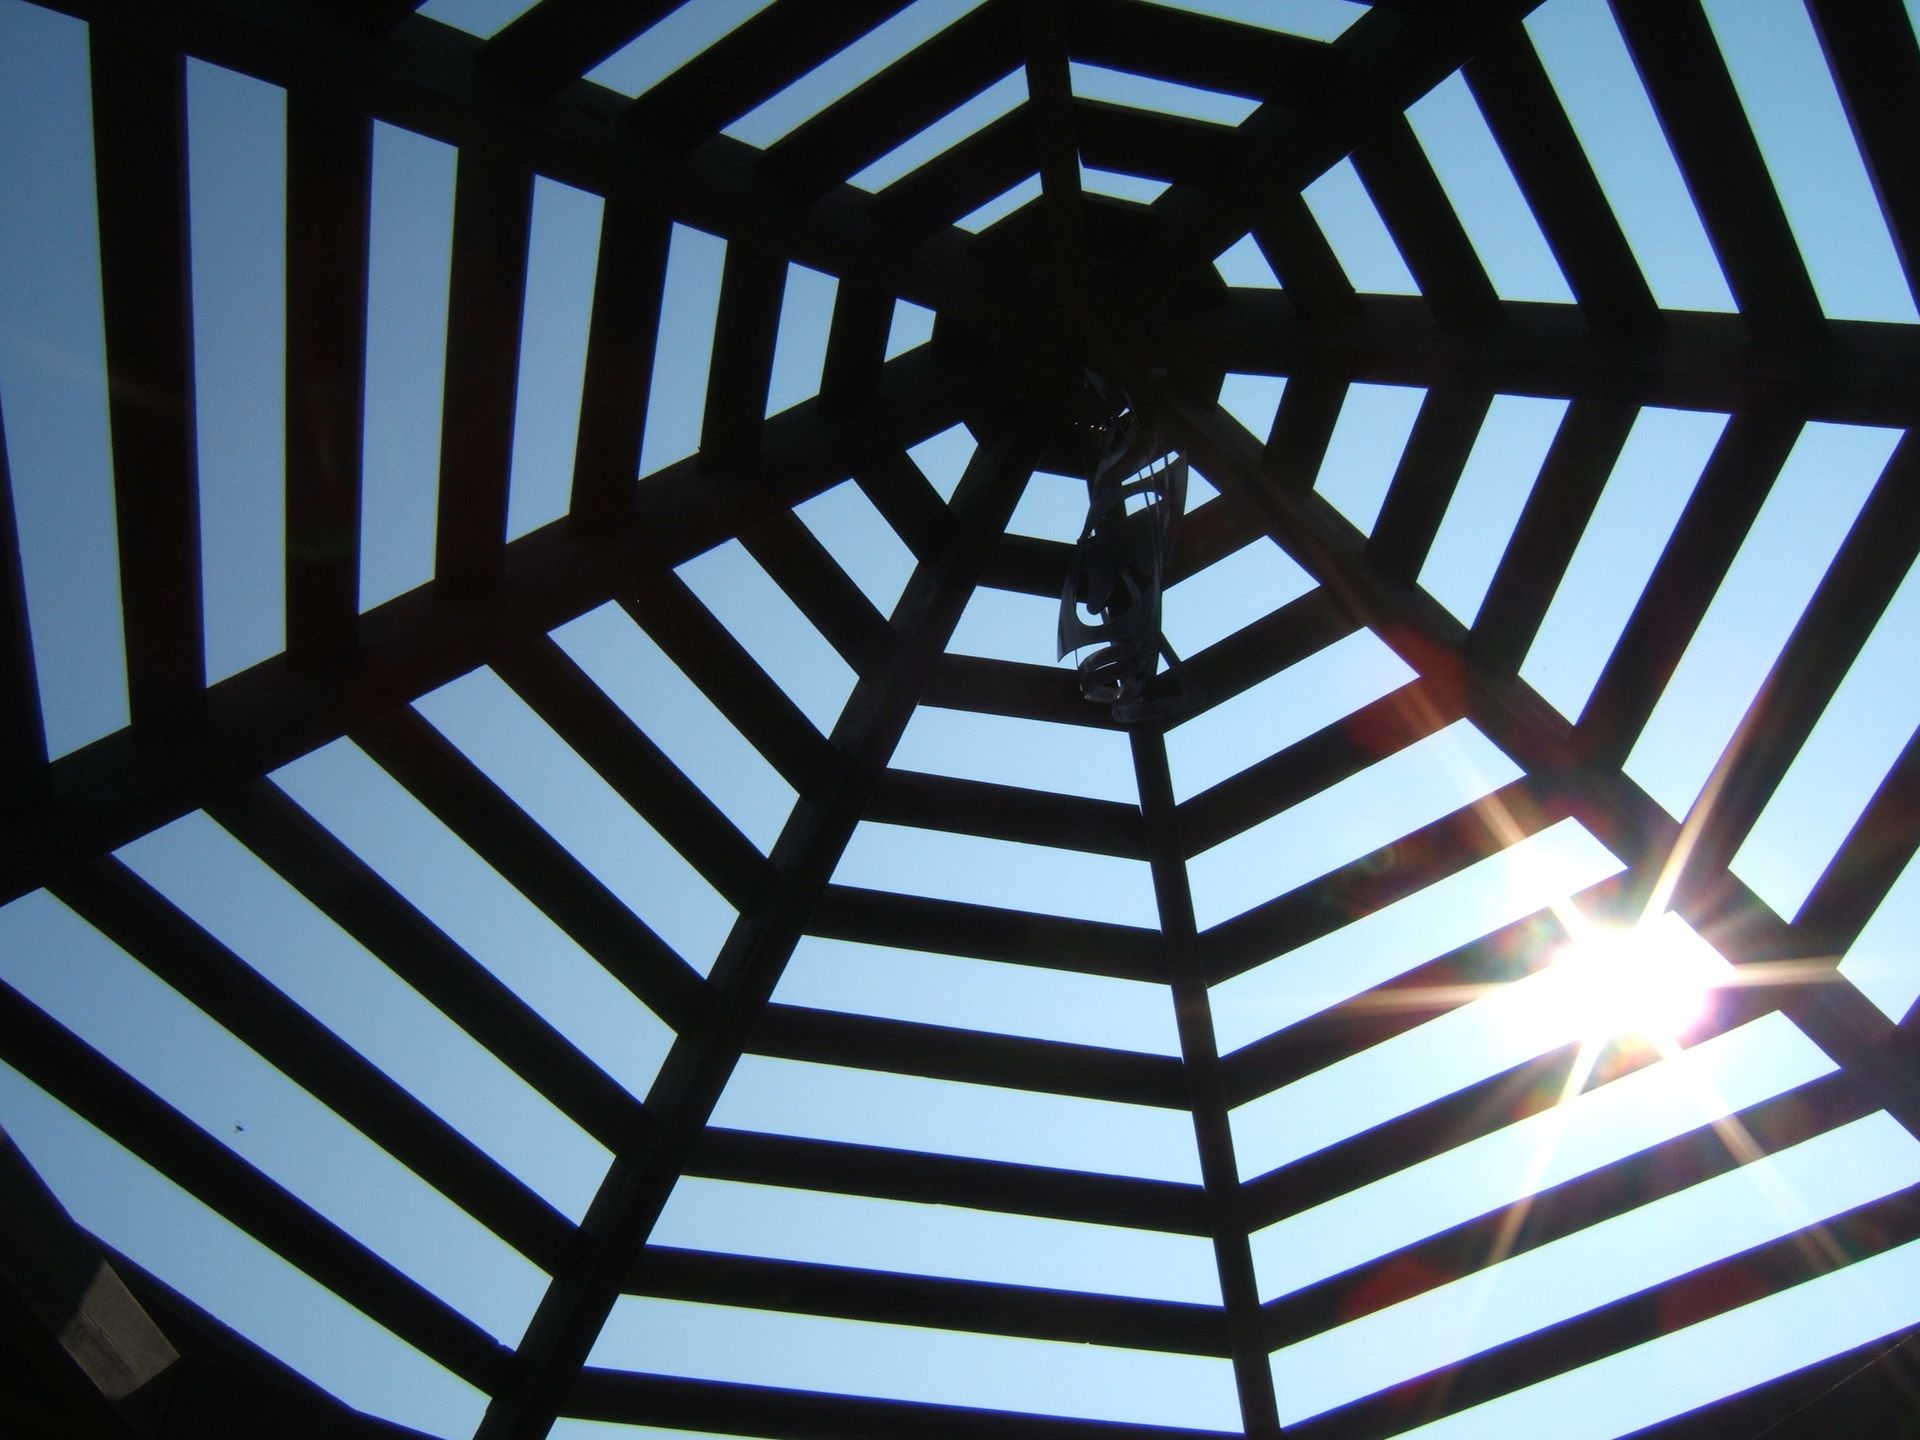
These little errors were even more annoying on the roof slats, since I had to climb up and down a ladder at least two additional times for each one that was off. This was the point where I really started to wonder what I had gotten myself into.
The roof, floor, and railings were finally done. Next: the bench.
How do you make a comfortable chair? I built a mockup in the barn with scraps. Two deck boards deep for the seat and three up the back looked about right, but it was super uncomfortable.
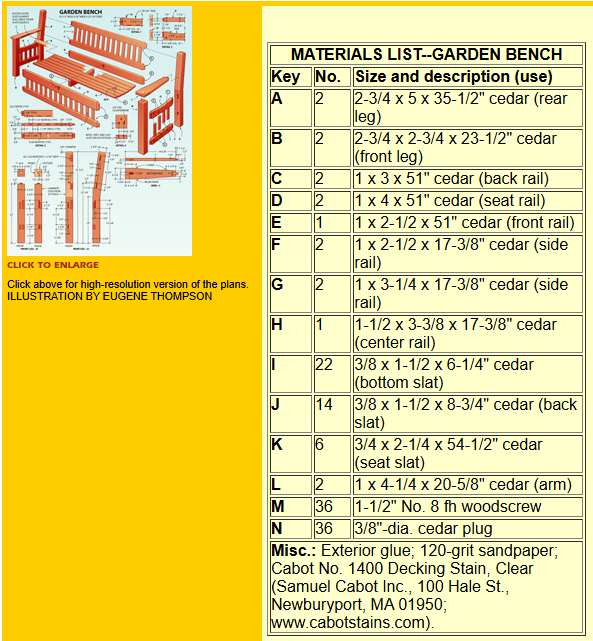
Cue early internet dial-up searches for how to build a bench. I found an article on the Popular Mechanics website. Less than 100 words and this diagram. Not a ton of help.
I took a protractor and started measuring every chair in the house: the angle of the chair surface to the floor, and the angle of the back to the chair bottom. I compared those angles to what felt comfortable.
I learned a very useful fact. The angle from the chair bottom to the chair back is the biggest determining factor for comfort. The chairs I found comfortable were all nearly 95 degrees from average chair bottom angle to average chair back angle.
So that became my bench design: a 95-degree angle between the seat and back, and then tilt the whole thing back 1 degree so water would not pool on the seats.
Unlike the pre-cut wood for everything else, I started at one side of the entrance and built around all 7 sides one at a time. Everything worked except the bench to the right of the entrance was one inch longer than the one on the left. I measured and remeasured so many times, and it still bugs me over twenty years later.
It was finally done, but my mother was not happy. It needed something on top. Something decorative.
She agreed that I should replicate the newel post at the bottom of the stairs for a cap. I took a section of 8” x 8” lumber and drew a profile on it. I ran it through the table saw, flipped 90 degrees, and repeated until I had a notch all the way around. Then I moved the fence over the width of the blade and cranked the blade up or down a hair to follow my profile line, doing 4 more cuts around the piece. I did this for all 8 inches of height on all 4 sides.
That is about 256 cuts to sculpt this piece of wood on an old Craftsman table saw where the blade took forever to slow down, so I just left it running while making all the adjustments. Looking back, this is one of the dumbest things I have ever done with a power tool.
A quick belt-sand and a double-ended lag screw and I was done.
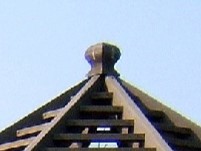
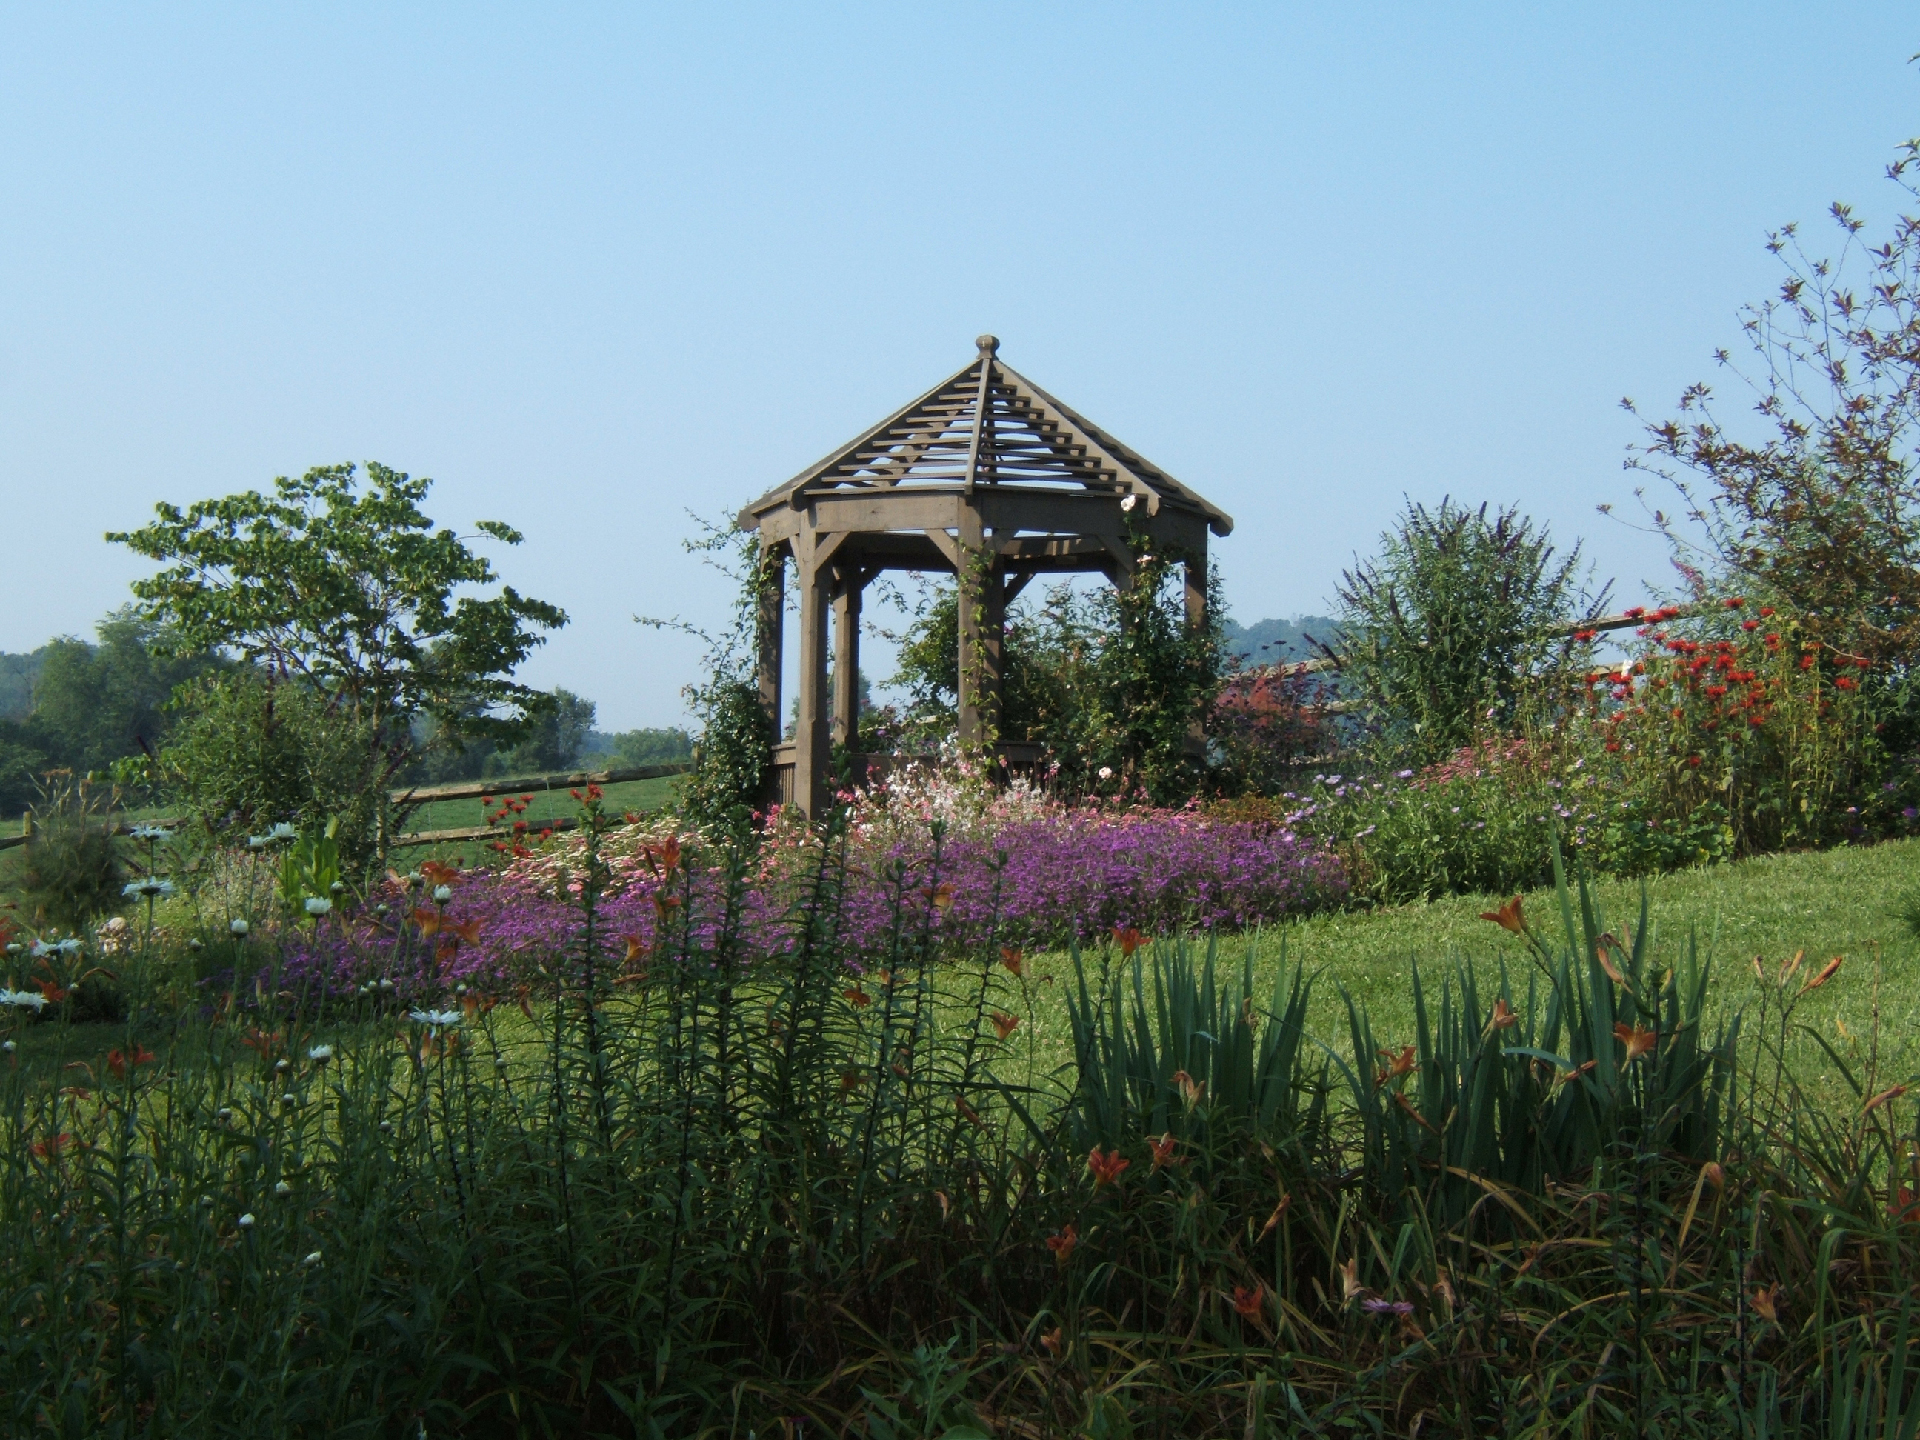
I was finished. I had some time left before school started. I was less than a hundred dollars over budget (I used scraps around the farm for much of the benches).
My mother asked if she could pay me in a month or so, after I went back to school. I said sure.
After getting back to school, I got a letter saying I had been paid $3000 in stock and was asked to promise I would not spend it until I retired. Not the $5000 agreed upon. The argument was that $3000 in stock was worth more than $5000 for the job.
I learned a valuable lesson: get things in writing when it comes to what you are getting paid and when.


Things I Learned
- Written agreements are important.
- Detailed plans do not mean everything works, but they make a lot of it work.
- Wood moves.
- Just because you can do something with a table saw does not mean you should.