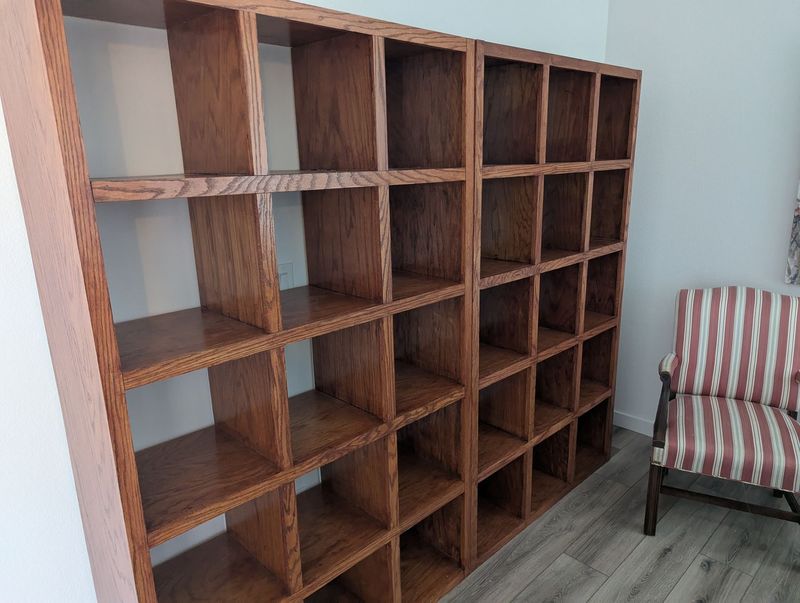
Book Shelves
When you are early in life nice furniture is not a high priority. When you are newly married it starts becoming more of a priority, but you may not have the money for it. My ambitious mind decided I could make some nice bookshelves.
I wanted the following:
- Not boring flat open bookshelves
- As big as I could make them and still move them
- Strong so they could be loaded full of books
I spent some time designing them. For me this process usually involves just sitting and thinking of different ways of doing it all in my head. Often my mind fixates on it while laying in bed going to sleep. This may or may not assist in the speed I fall asleep.
I settled on a grid of squares 3 across and 5 tall. Kind of like a giant shadow box. I figured that 3/4” plywood should be strong enough. I wanted to cover the edge of the plywood and this was early in my woodworking career with limited tools so I didn’t have a way to make nice trim. So instead I planned to use 1x2 trim on the front. I wanted it to look good but also be strong so I planned on having the outside vertical sides of the shelves be a single piece and then each horizontal shelf spanned the full width and was supported by two shorter vertical spacer to carry the weight. This was also the first project that I wanted to look nice so splurged on oak trim and oak veneer plywood. All my previous projects had been pine and I had learned the difficulty of making pine come out the color you expect.
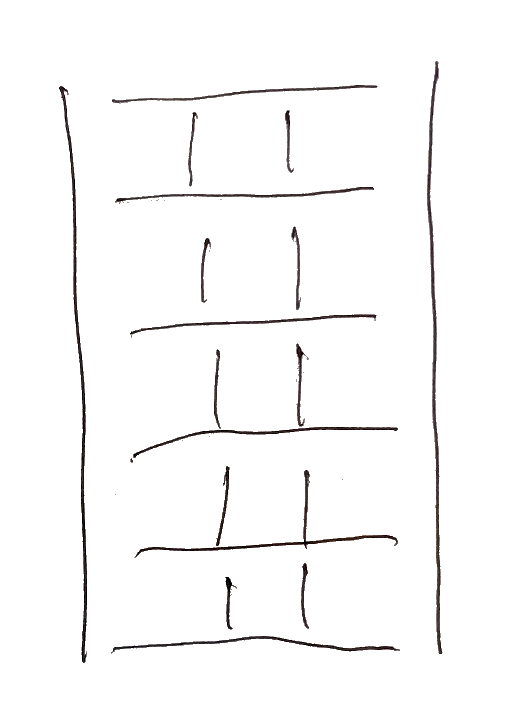
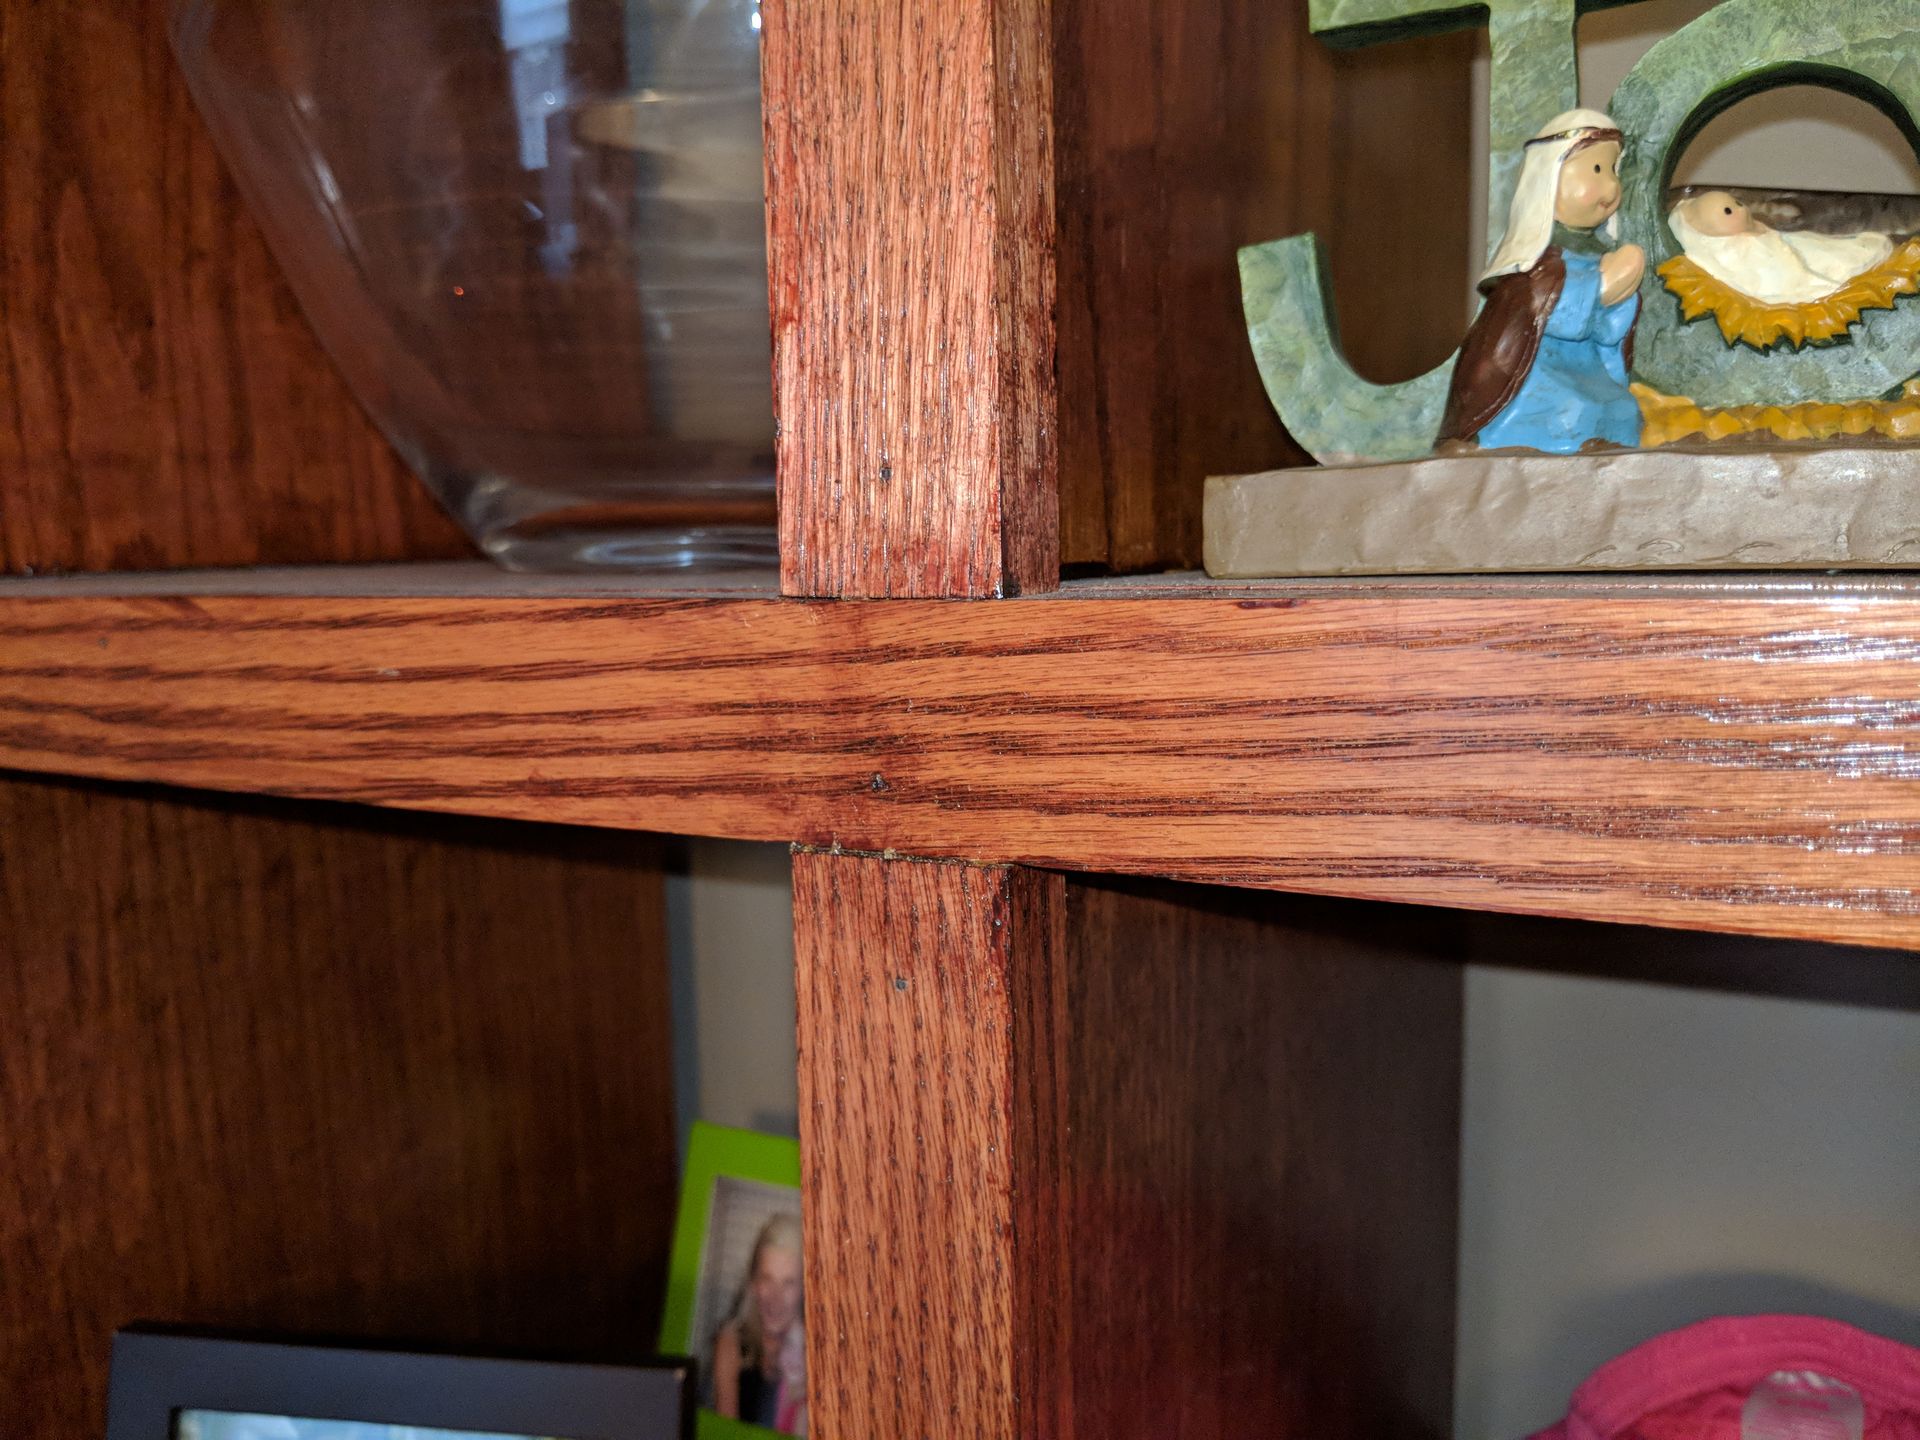
Making evenly sized squares should be easy. Then you remember that you are using 1x2 trim on the front and that is what needs to be even. The shelf needs to be even with the top of the horizontal trim so a book can slide in or out. And the outside edges need to be flush with the trim, and the center dividers need to be centered. OK redo all the measurements before you cut. Then you remember that lumber companies have become cheap and 3/4” plywood is actually 23/32” or 1/32” smaller. Redo calculations again and then cut. After triple-double checking measurements the assembly went smoothly. Butted all the joints together put in wood glue and pin nailed everything together while the glue dried.
Like many projects you get started and then realize oh this is going to be more work than I thought. I had a new router that I had planned to use to put a nice chamfer on all the edges. Well no time for that. I planned on removing the pin nails before staining and finishing. No time for that either. A quick sand on all the edges to move the corners from splinter inducing razors to blunt force trauma edges for your newborn to fall on a few years later. No guilt was felt about that at all… Real life deadlines were in the way and I had only stained and finished one shelf. Oh well they had to be moved from my friends garage where I was building them to a new home. So like many things in life it was left to finish later.
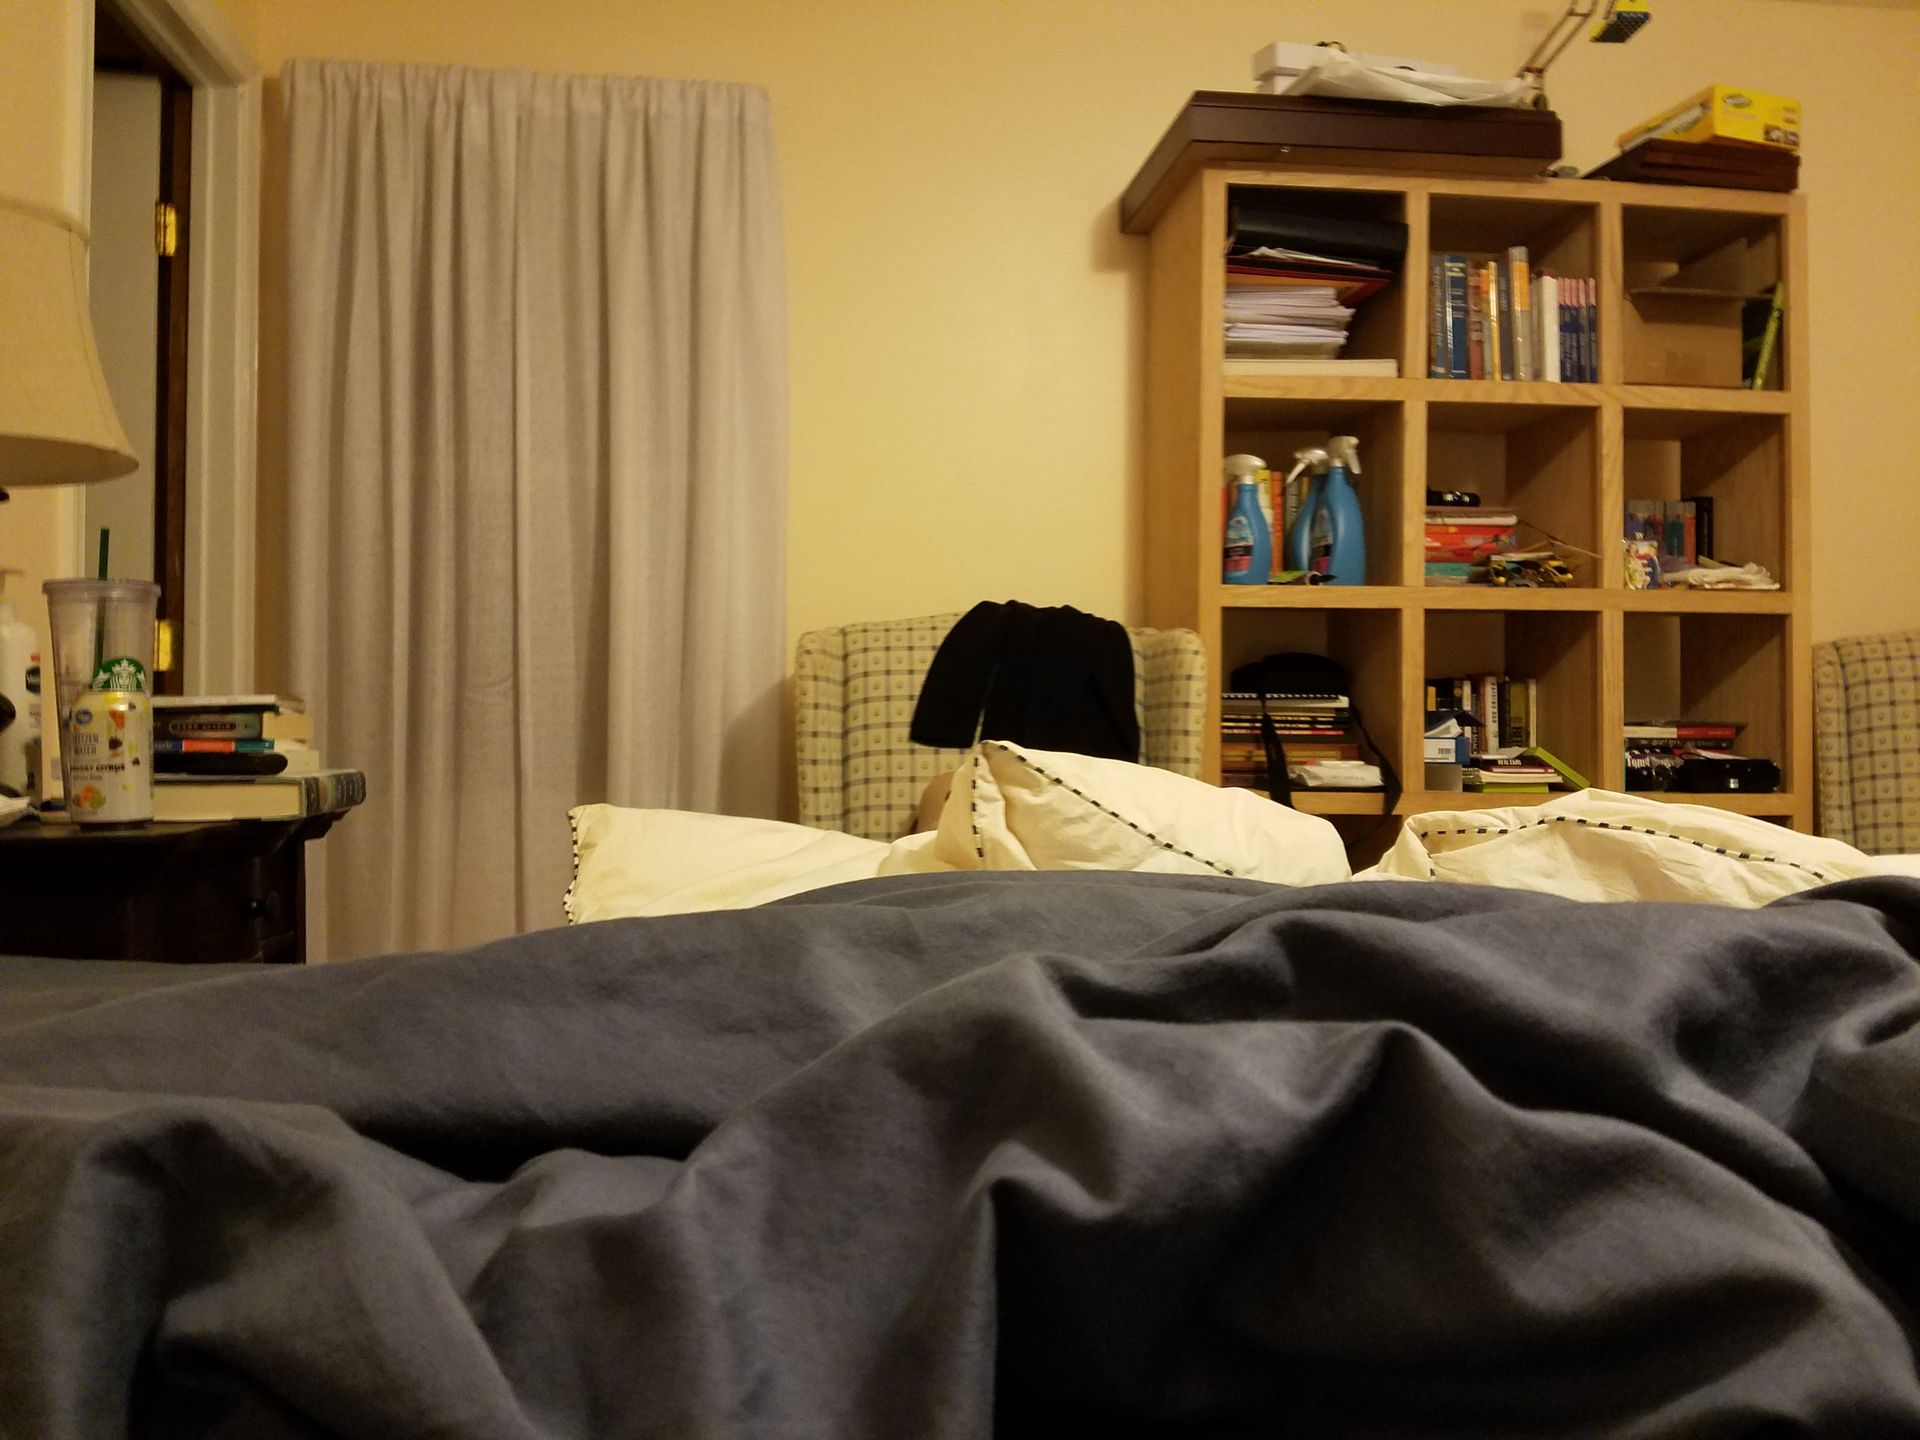
When moving the shelves one with multiple coats of polyurethane slopped into inside corners that weren’t really visible and another shelf that was still only secured with wood glue I learned that there was a significant difference in strength. One wobbled and the other did not. Now polyurethane is not a great glue, but in enough quantity across enough corner surface, it does a decent job supplementing the strength of the shelves. I did add some small metal braces on the back across the corners to help me feel better about the house of cards I might have just built.
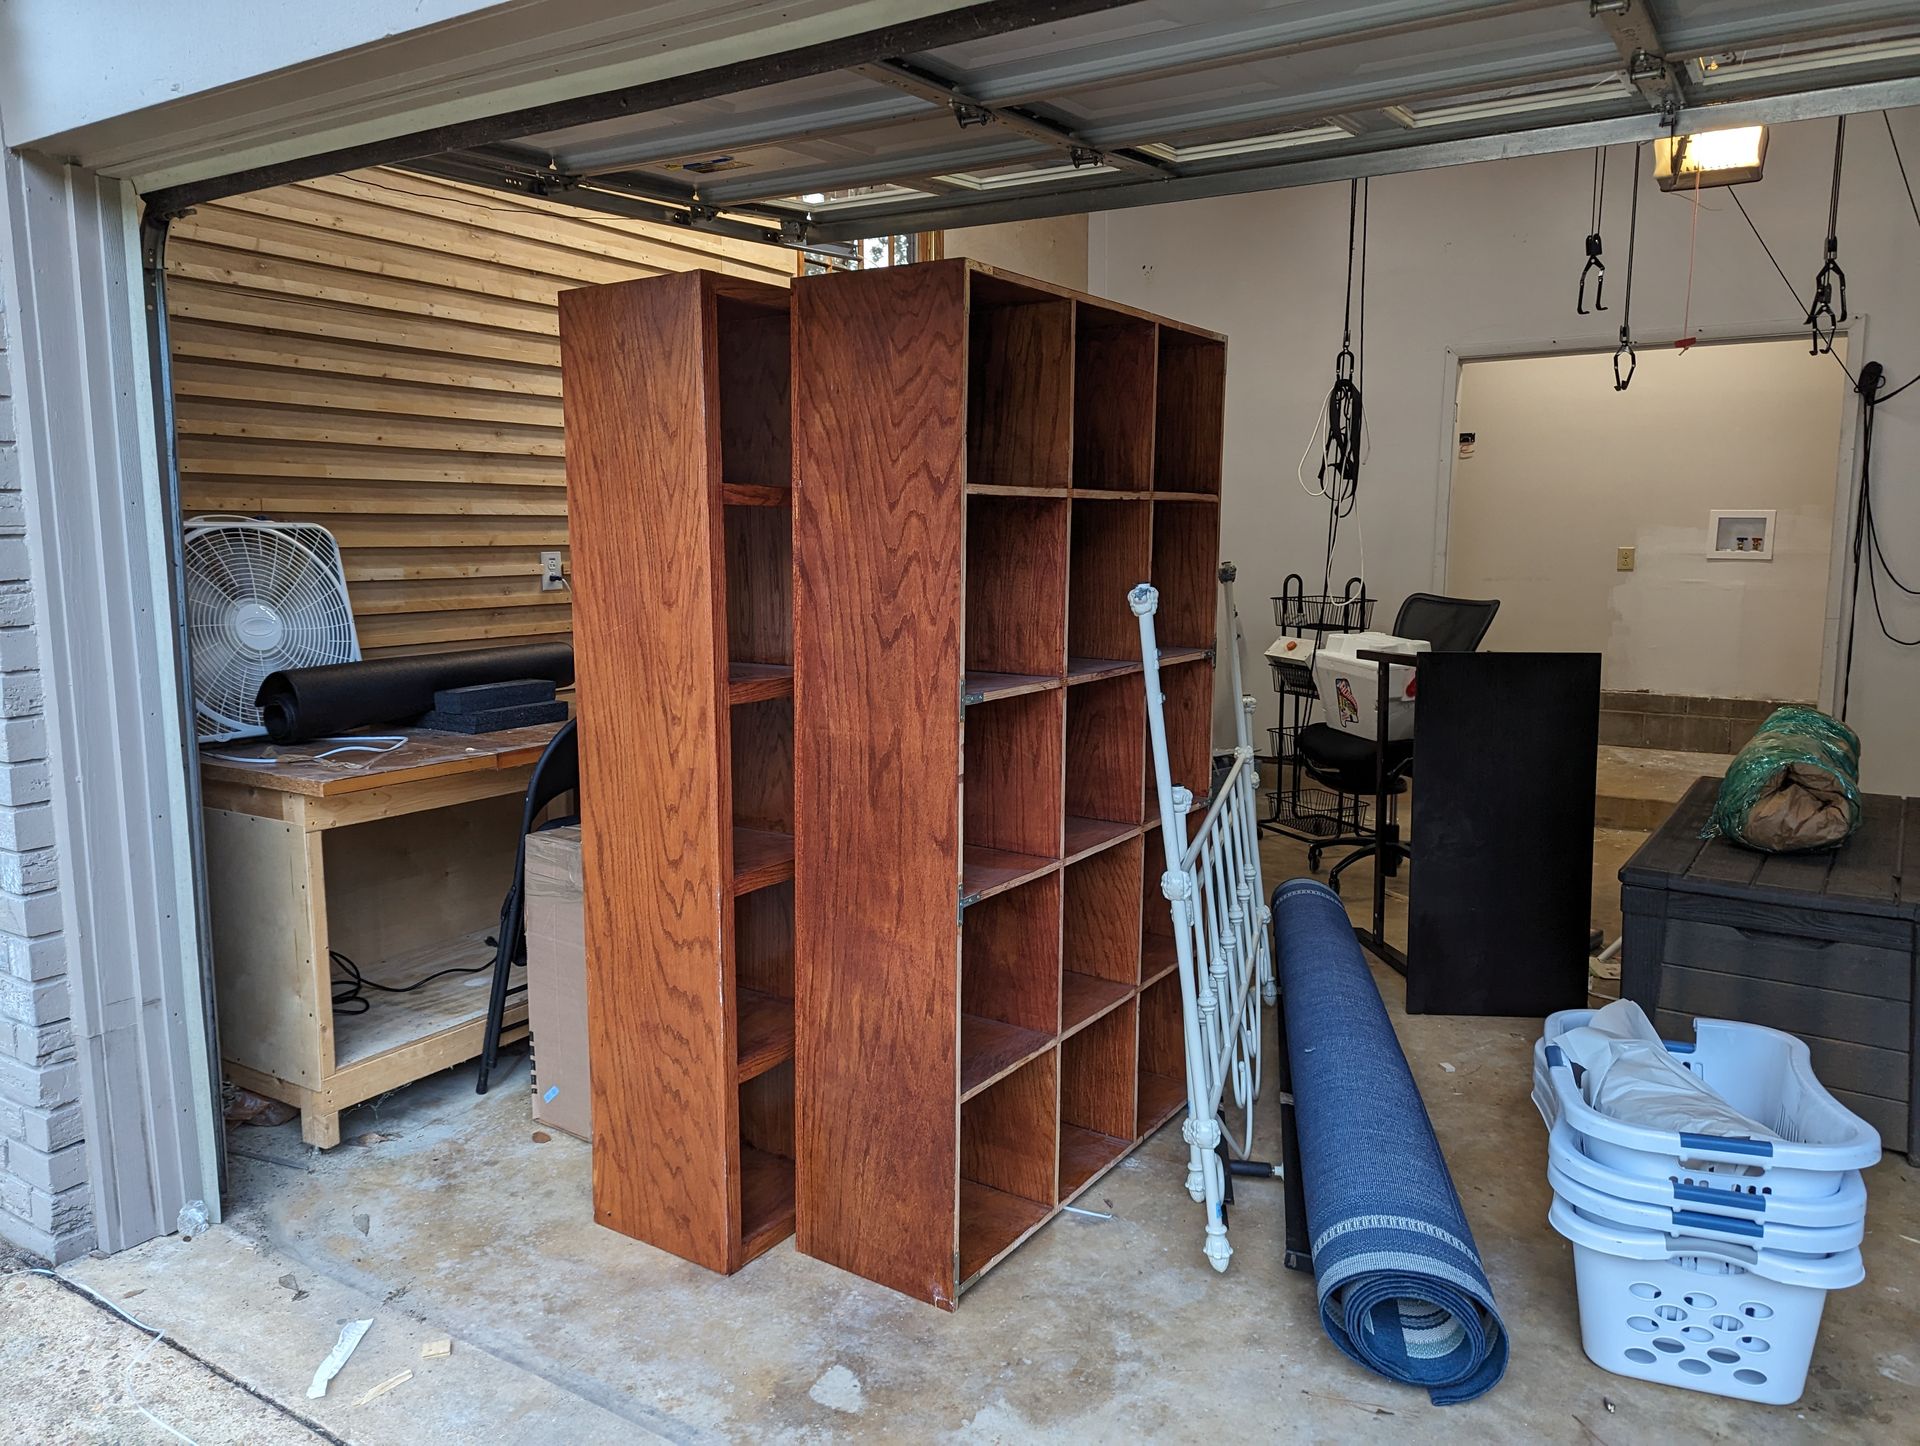
Years later I finally stained and finished the second shelf to match the first. By that time the wood had grayed so I had to get creative with the stain to get them to look similar, but overall I am pretty happy with the result.
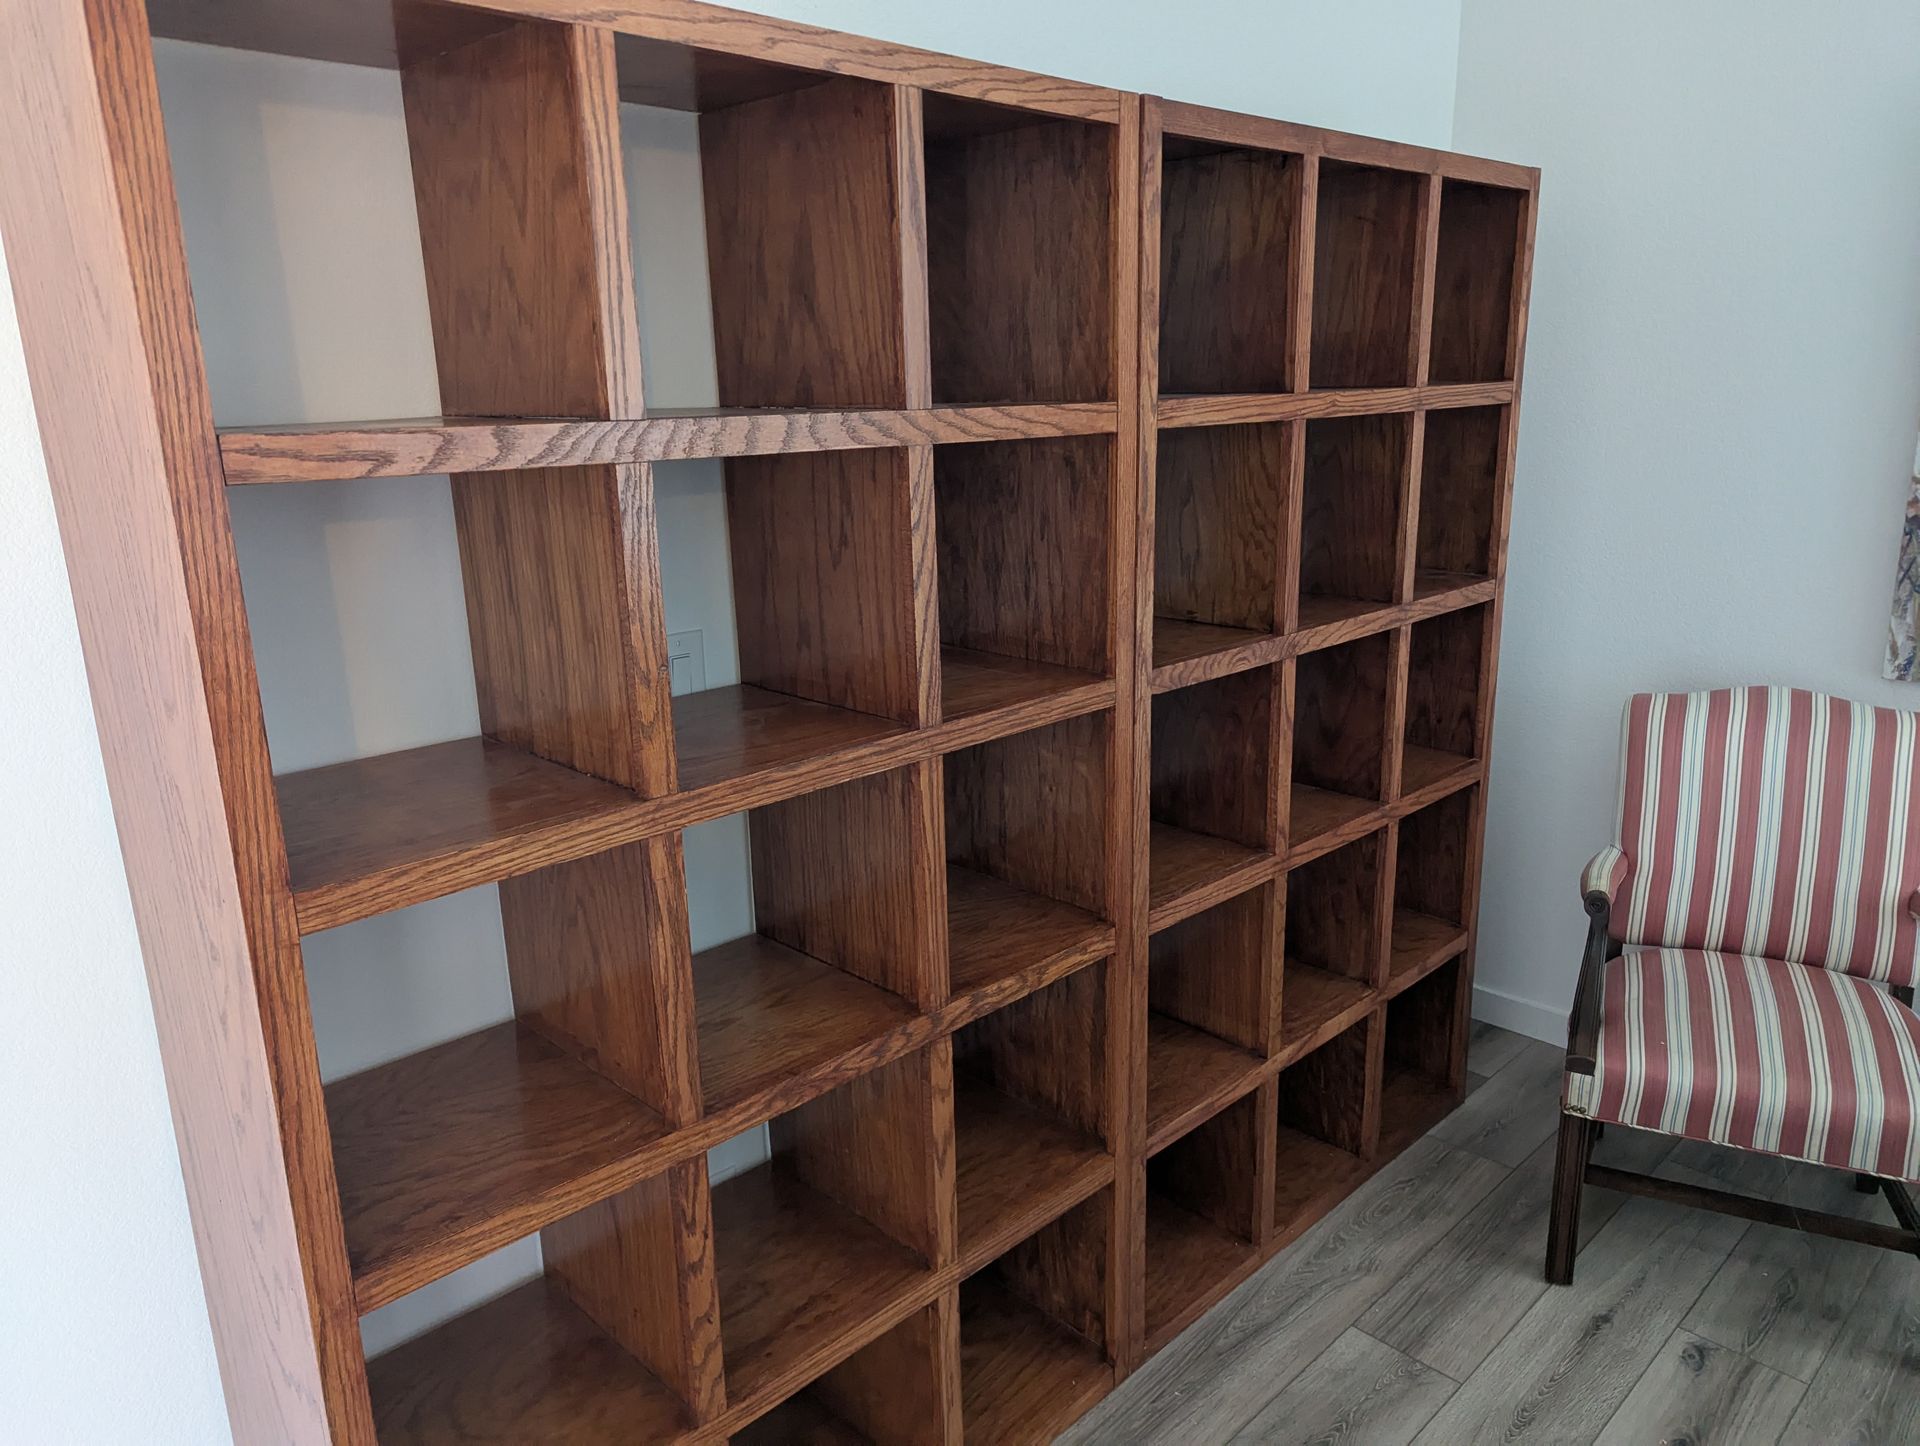
One of the things I realized the longer the shelves were around and after about the 4th or 5th move was that I really liked the more rustic look they ended up with. The pin nails still showed, and the corners weren’t routed and sanded to be perfect. However furniture gets dents and scratches over time. This was functional and beautiful. As much as I regretted it not being heirloom grade furniture when built, I learned to overlook the imperfections and enjoy that I had built something functional and beautiful.
Things I Learned
- Polyurethane can work as glue
- A rustic look will grow on you
- Shrinkflation happens even with wood
- Don’t put off finishing. Color matching later is hard.